
I love that everyone is falling in love with calligraphy. It's wonderful to see beautiful lettering all over Instagram, on supermarket shelves, TV ads and greetings cards. We're head over heels in love with lettering again, and this makes me happy.
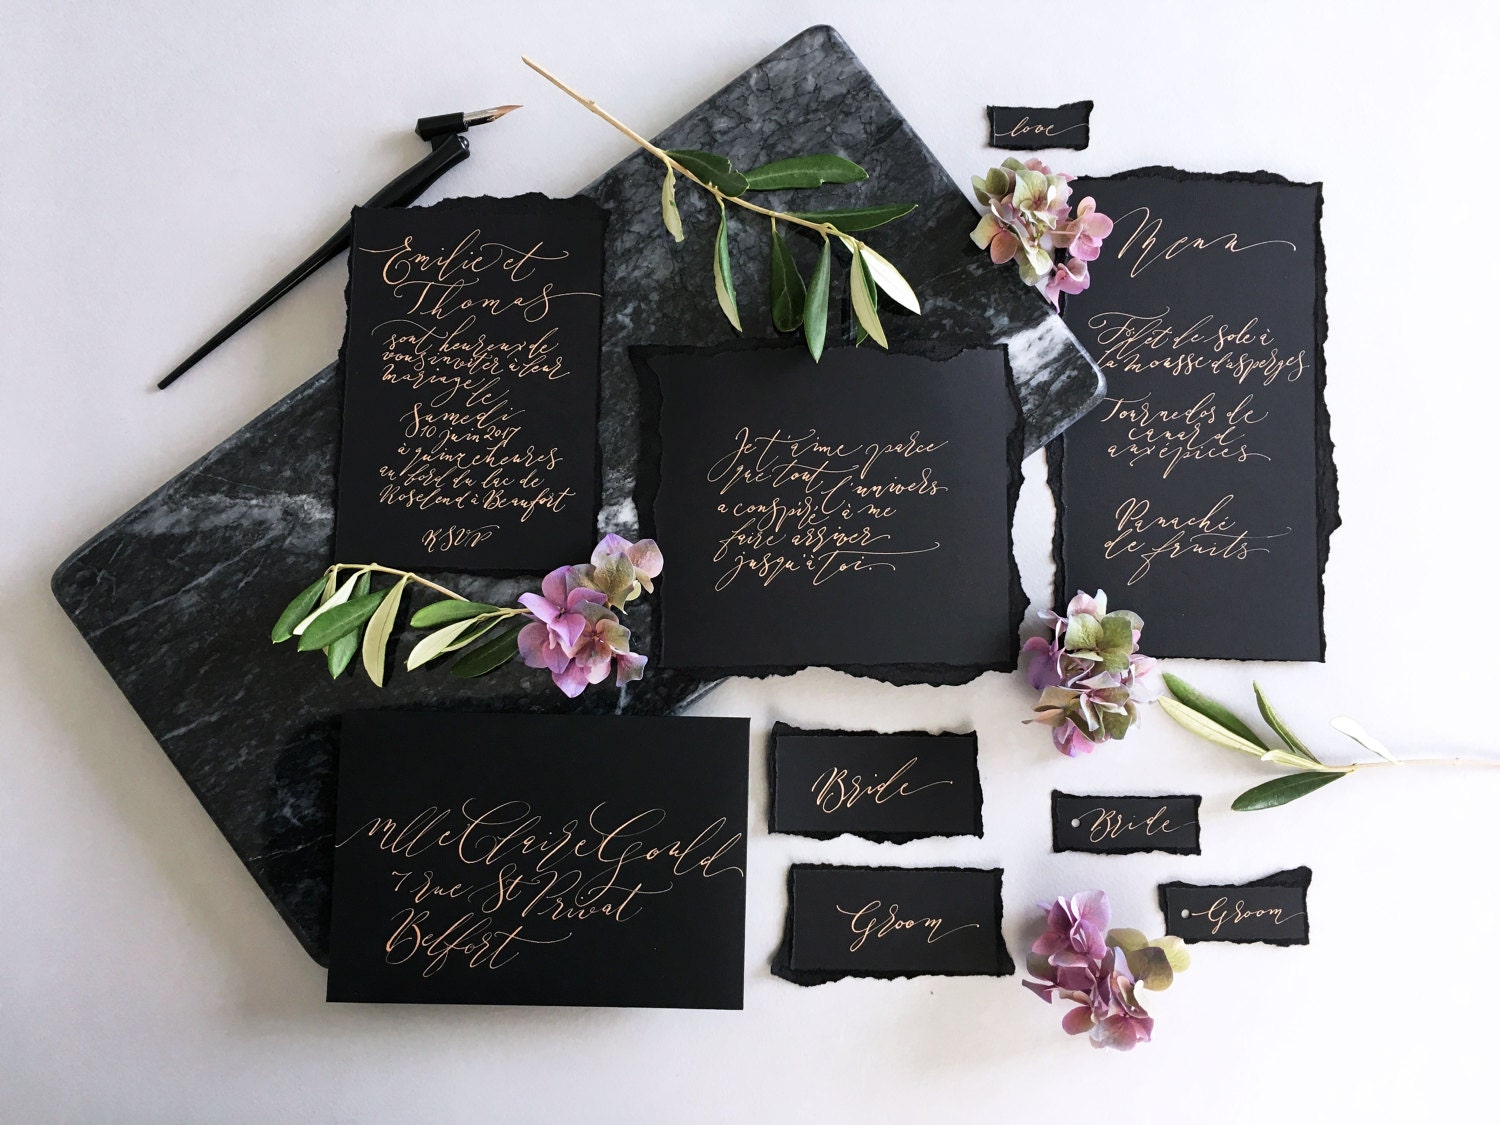
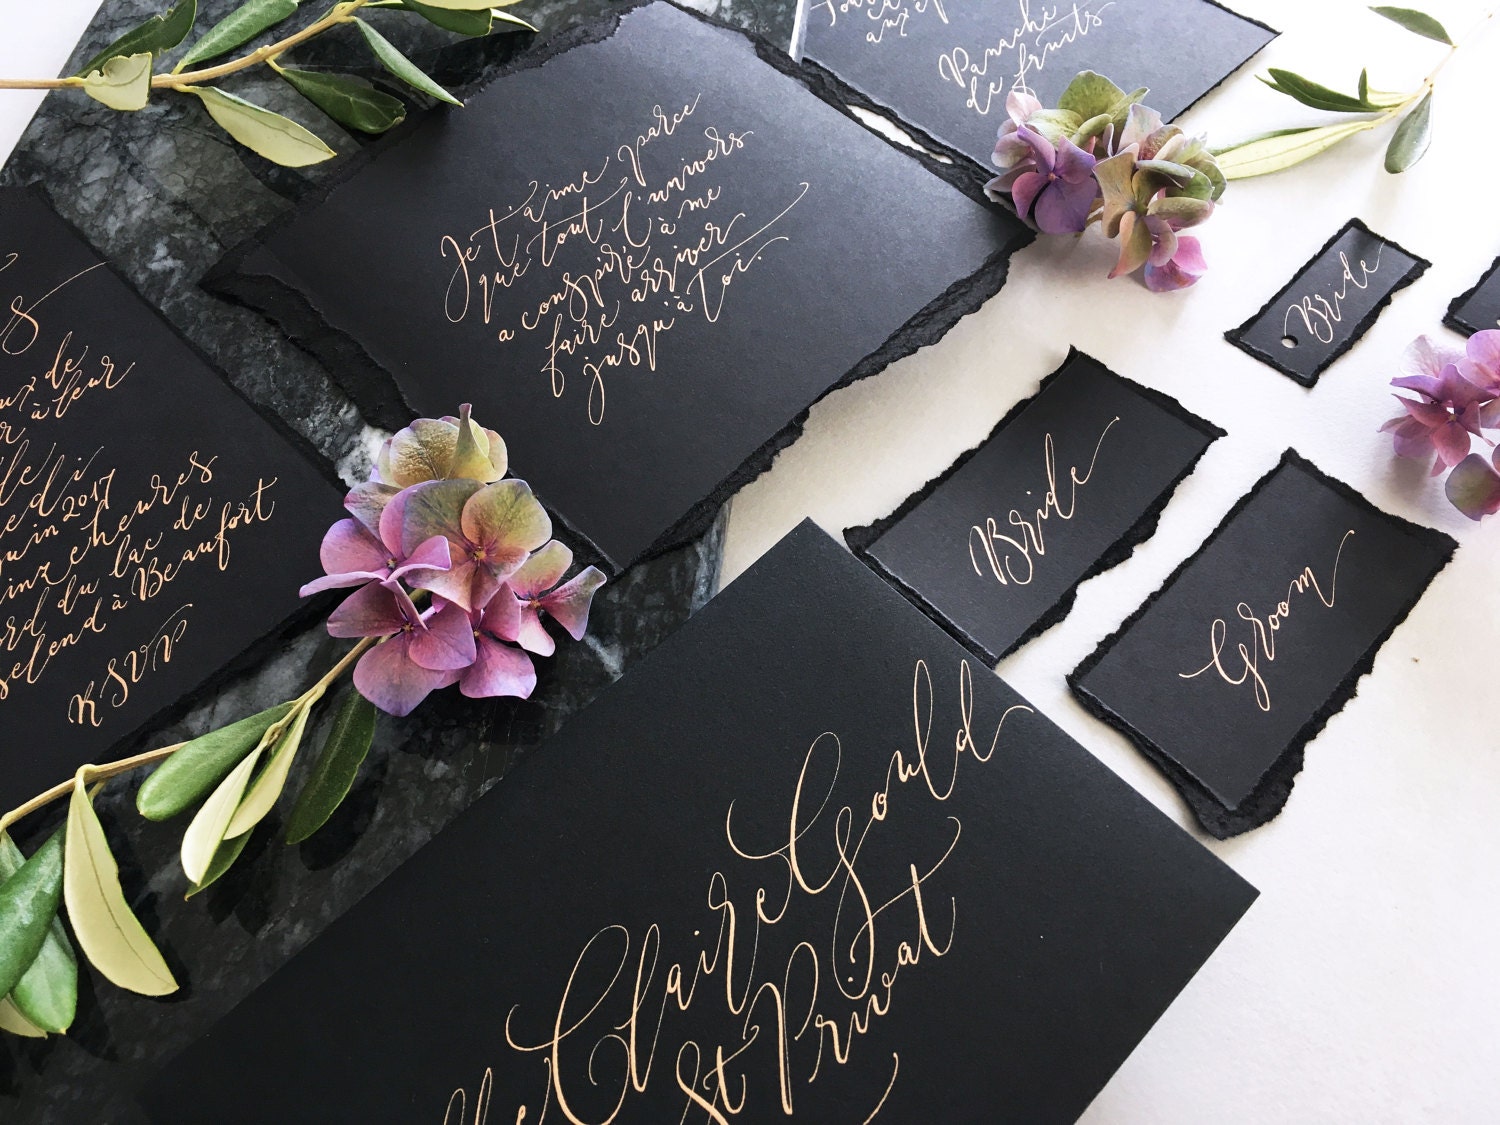
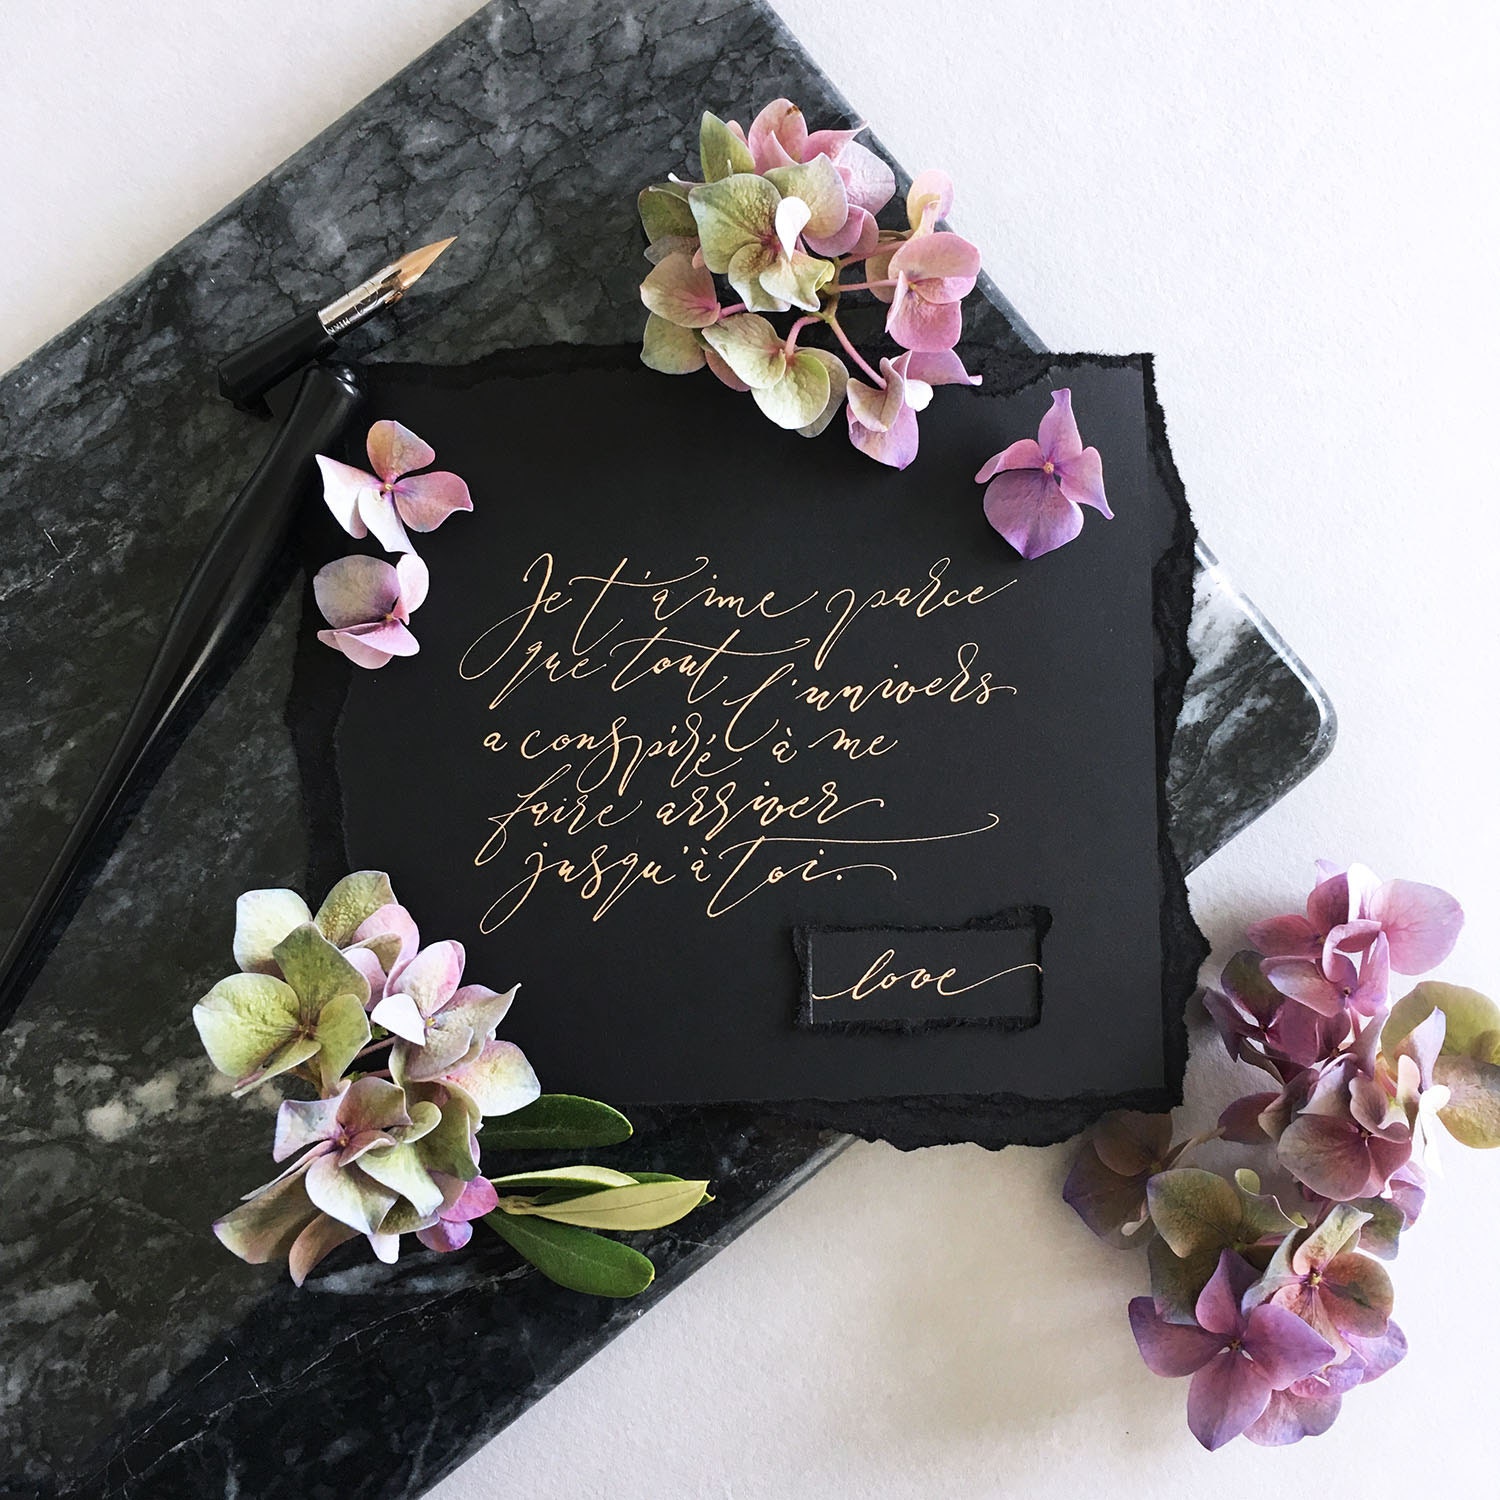
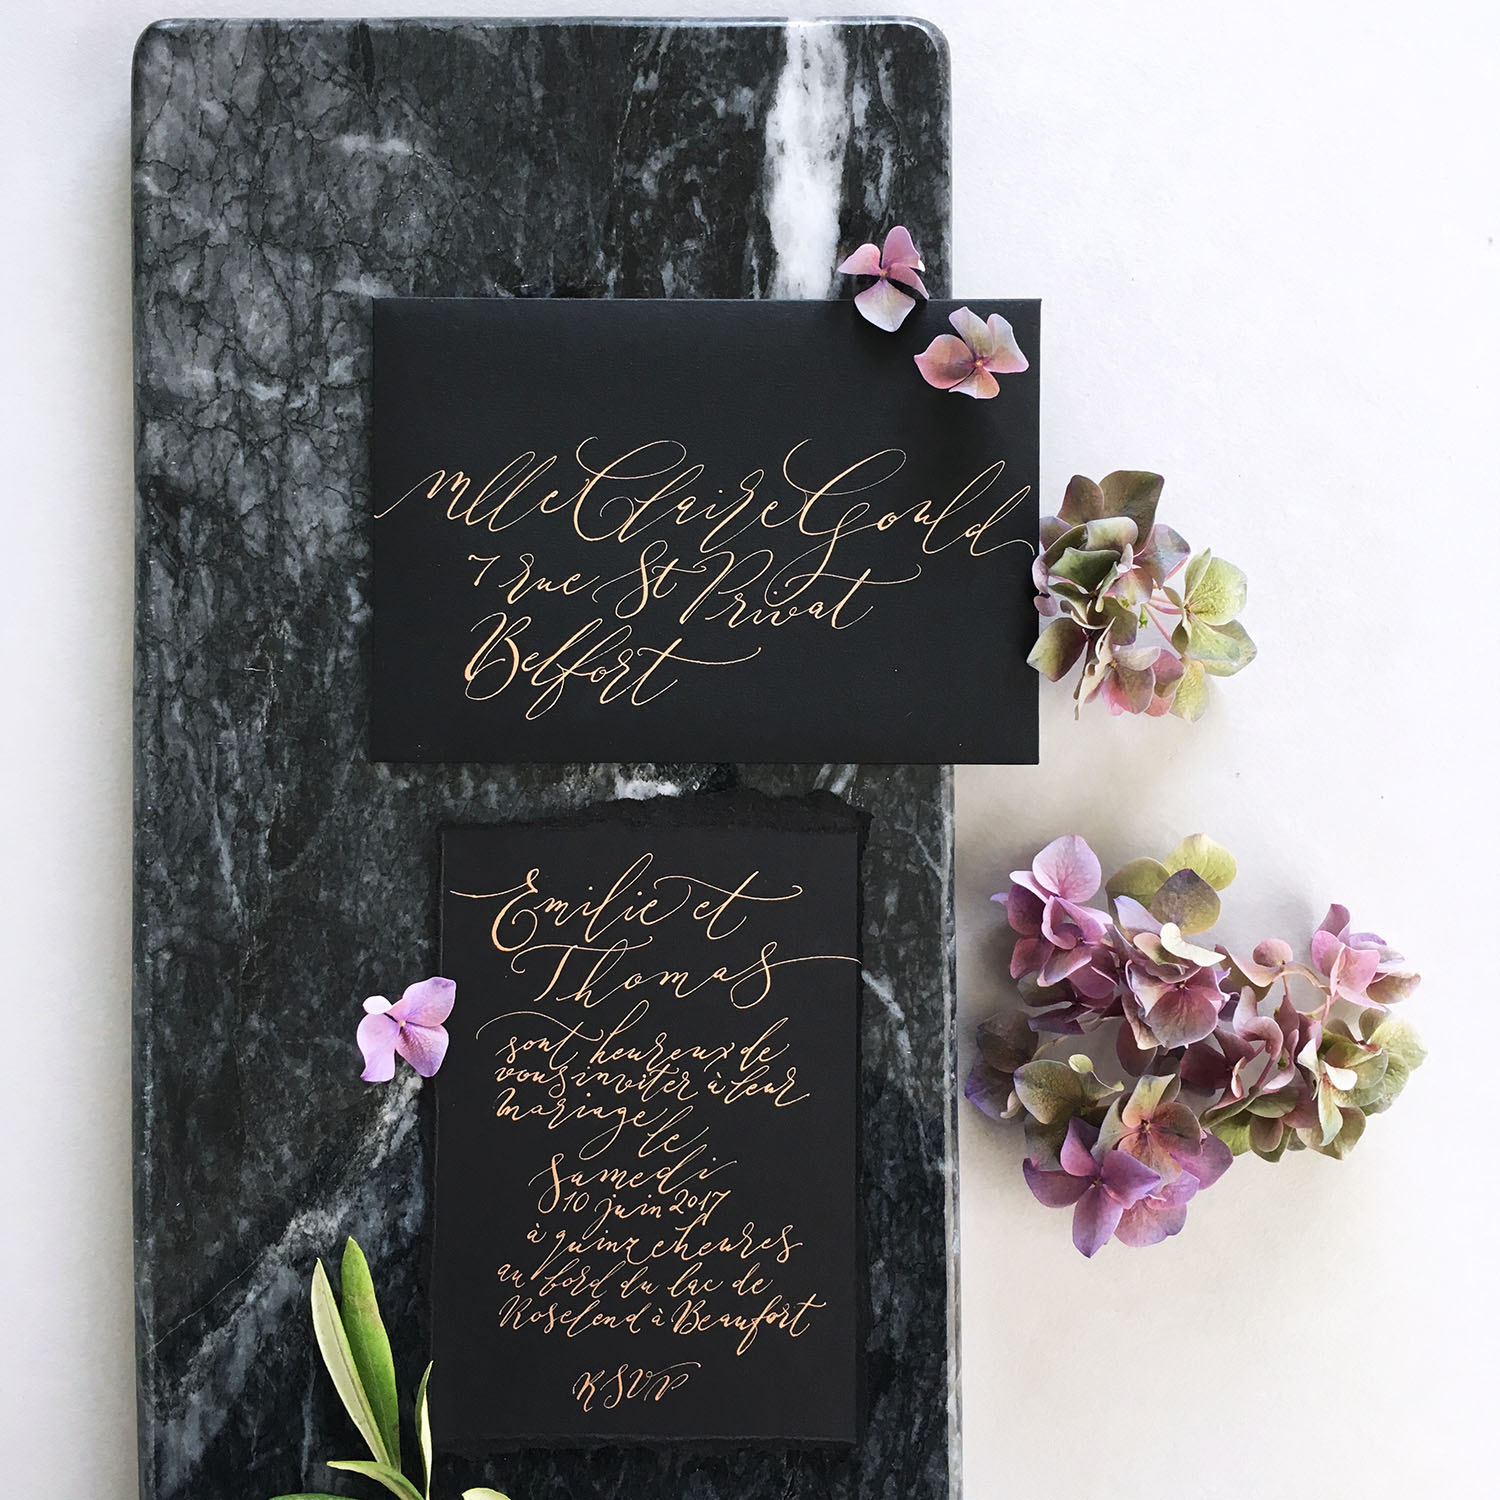
It also makes me feel really inspired to write - I love to explore different styles for different themes: a moody script for a wedding photoshoot or a dancing letterform for pretty bespoke wedding stationery. Do you share my inspiration to write calligraphy? If you're just starting out then I have some tips to make those first steps on your calligraphy journey easier and more fun!
1. Have the right kit
It's really important you have the right tools to begin learning modern calligraphy. An old-fashioned, broad edged nib won't cut it: you need a pointed nib, and you need a beginner's nib which won't break, or catch in the paper, or wear out in your first hour. And you need decent paper and a good quality ink.
For practice I use a Nikko G or Zebra G nib. They're perfect for beginners. They slot into a Speedball Oblique penholder (cheap & cheerful) or a straight penholder (for left-handers).
The ink I use is a Sumi ink; Kuretake make a good one; mine is an imported Moon Palace Sumi ink. The little bottles of 'Calli' ink you see in art shops are good too.
Choose a nice quality paper: I use a premium printer paper for practice. Unfortunately most recycled papers cause the ink to bleed (ie go a little fluffy around the edges), and thinner printer papers (anything under 90gsm) does the same.
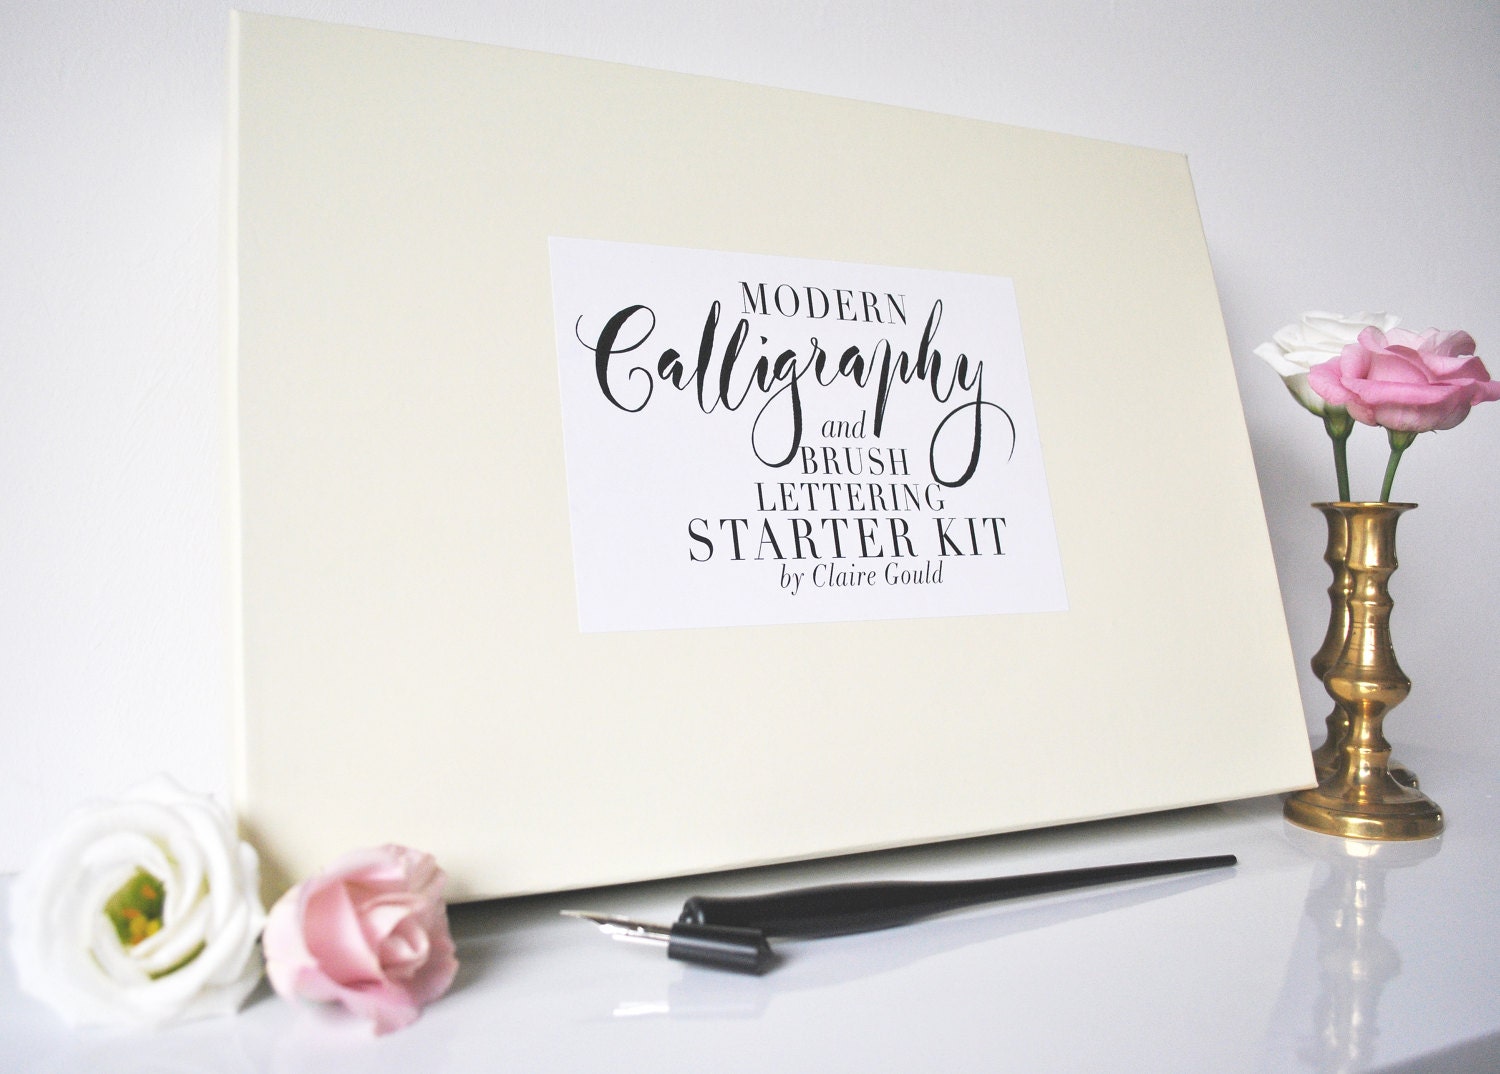
My modern calligraphy starter kit includes all of the above and is available to ship worldwide. It also contains a 36 page, inspirational calligraphy book with exercises and photos of lettering work for you to study and follow.
2. Learn from a pro - in person or online
There are dozens of calligraphy tutorials on YouTube, and hundreds of calligraphy videos on Instagram. They're wonderful for inspiration, and can really help you with brush lettering or advanced calligraphy. Explore them as you develop your lettering!
I've often heard beginners say they attended a calligraphy workshop and it really helped with their writing skills. It's the little things which will benefit you the most: watching a calligrapher demonstrate key letters for you, or show you how to hold your pen at the right angle to avoid scratching and achieve a really smooth line.
If you're in the north of England, I'd love to meet you at one of my Manchester calligraphy workshops - they're held about once every 6 - 8 weeks, and you can book your place here.
If you're too far away to join me for a live workshop, my online calligraphy workshop is designed to teach you calligraphy in the same way I do in the classroom. There are 6 video tutorials as well as worksheets and FAQs, with a new lesson delivered weekly to your inbox!
3. Allow yourself time to nurture your talent
Calligraphy can't be rushed; it's important to practice writing letters and quotes until you see your individual style begin to evolve. So set aside time to learn. If your aim is to write wedding invitations, begin learning a few months before you want to send your invites.
Allow time for practice sessions too: once or twice a week, give yourself a little 'me time' to get out your calligraphy pens and write, undisturbed. For me that means music and wine too!
4. Make it fun: write quotes, not drills
I've known too many students get hooked on a letter 'n' until they strive for perfection to the point of obsession... but really, a single letter doesn't matter so much when you're a newbie in the calligraphy world.
Inspire your practice with quotes, song lyrics, anything to take your focus of boring lines of a a a a a a a a a a a a a a... and suddenly you'll find you're writing that n without even thinking about it. And it looks good!
5. Take pride in your work: frame your journey
Have a blank frame behind your desk. As you learn modern calligraphy, update the frame as often as you like! I use an oversized frame and put small pieces of lettering in there: a little quote like 'She believed she could, so she did" written about the size of a playing card, and placed in the middle of an 8 x10" frame with white space all around it... looks fabulous. Try it - and admire your calligraphy!